Tracking WordPress activities is as important as creating a website on WordPress. Starting from the functional attributes to the emails, everything must be streamlined on the open-source platform if you want your business to succeed.
Especially if you wish to analyze the success of email campaigns then setting up WordPress email logs is essential.
Why Set Up Email Logs in WordPress?
Setting up WordPress email logging is necessary to monitor and analyze the overall deliverability of all your WordPress emails.
In general, on WordPress websites, emails include new user notifications, password reset emails, update notifications, password change notifications, new user notifications, etc.
If you are running an online store through WordPress, then email becomes all the way more important to send out order details, customer receipts, user account emails, and new order notifications on a frequent basis.
Through emails, you can:
● Keep a track of user activity.
● Track your WordPress contact form plugin email.
● Analyze if emails sent by plugins are functioning properly.
● Keep email logs of customer orders, receipts, and notifications.
● Ensure that all emails are being delivered on time.
● Manage memberships seamlessly.
In a nutshell, email notifications are crucial for the proper functioning of your website and to deliver the best user experience, and so you must set up email logs in WordPress.
If you have understood why you need to set up an email log, here is how to set up and view email logs in WordPress.
Setting up Email Logs in WordPress with WordPress Mail SMTP
So are you still wondering about how to set up WordPress email logging?
To do so, you will have to pick your chosen plugin first. There are options for that like WordPress Mail Logging, WordPress Mail SMTP Pro, and Email log.
As the SMTP way is the most popular, here is a guide on setting up email logs in WordPress with WordPress mail SMTP.
Dive in through the following steps:
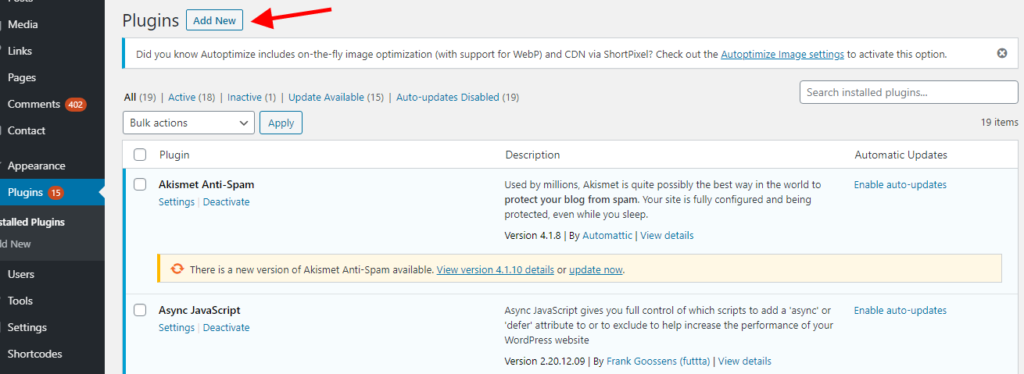
- For one, you need to install the WordPress mail logging plugin and among all WPforms is the best alternative. To do so, go to your dashboard, click on plugins and tap on Add New.
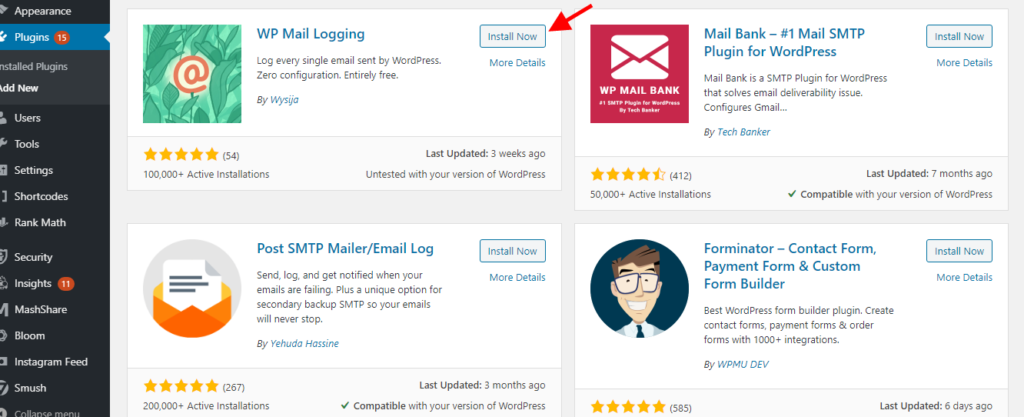
- There you will find the WordPress Mail logging Plugin. But if you don’t, then use the search option.
From the pop-up list that appears on WordPress, pick the WordPress Mail Login Plugin and click Install.
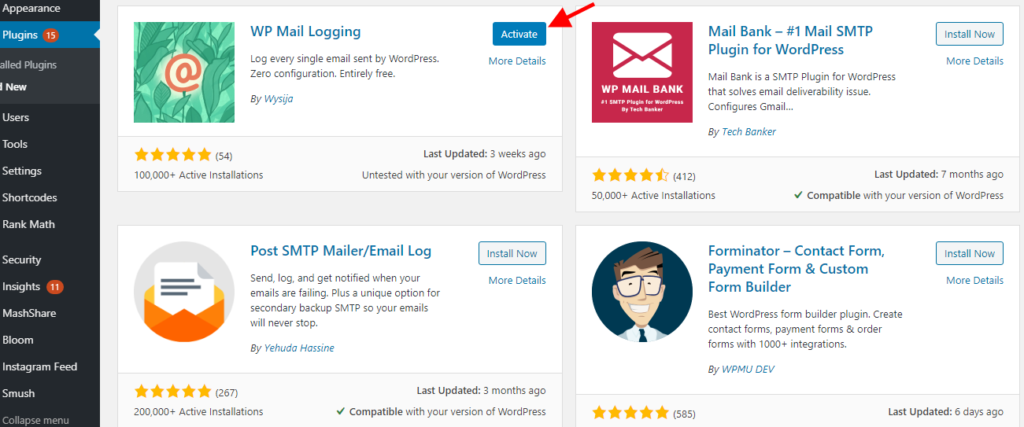
- Once you install the WPForms plugin, click on Activate and get ready to personalize it.
- To personalize or customize the WPForms plugin, find the WordPress Mail logging plugin on the pop-up list that appears after clicking on ACTIVATE.
- Scroll through the list and once you spot the plugin, click on settings and customize the features as per your individual preference.
Remember to save the changes before you exit.
How to View Email Logs in WordPress?
Here’s is a step by step guide to view email logs in WordPress:
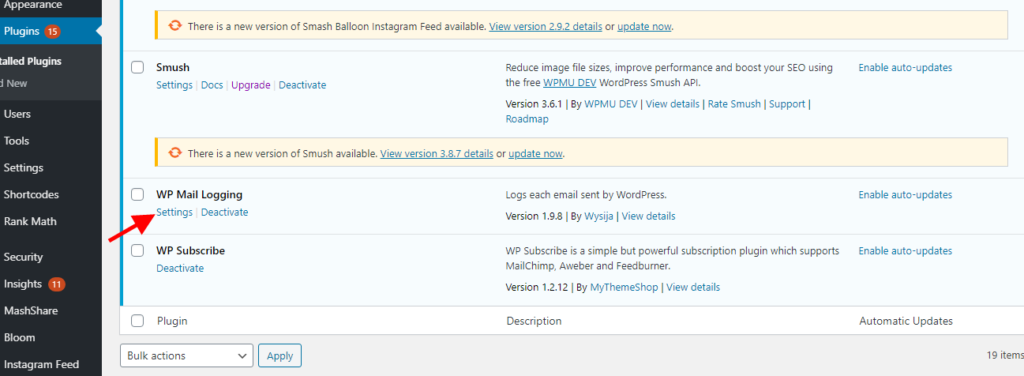
- To view the email log, first of all, your website will need to send an email. Once you have one, you can go to your WordPress dashboard and click on Installed Plugins there.
- Look for the WordPress mail logging plugin and click on settings. From there, tap on the email log, which is right beside settings.
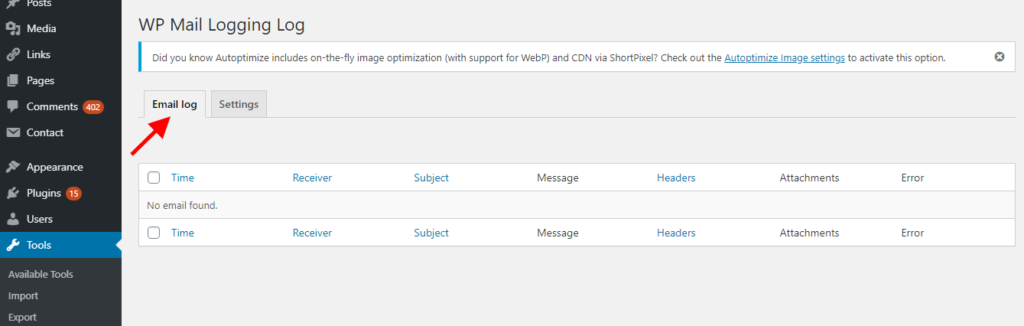
- From there, you can find the email that you sent along with the additional details of the recipient, host, subject of the email, etc. There you can also see the exact time and date of the email, so you can track when you sent the mail.
- To check in details of the exact content of the emails that your website sent or tried to send, click on the email that you wish to read and then tap on the View icon that is placed under the message row.
- The best part is when you click on the View button; you can also find if any headers or attachments are in the email or not. Plus, you can also see if there was an unexpected error in sending out the email.
Troubleshooting
By tracking your email logs, if you find that an email wasn’t sent to the intended recipient, then you need to troubleshoot. You can try to resend the email again from the log. To do so:
- Check the box of the email that you wish to resend.
- Visit Bulk actions and switch on that option to resend.
- Tap on the Apply button.
Viewing Email Log (WordPress Multisites)
To facilitate WordPress Multisite installations, you get the alternative to view an aggregate email log of all your subsites in one place.
To do so, you will have to go to My sites> Network Admin. Then navigate to WordPressMail SMTP> Email log.
Here you can view a combined email log for all your subsites for multi-platform functionality.
If you wish to view an email log for one substitute, then you can always tap on the preferred subsite from the dropdown menu situated in the top-right corner of the page, next to the Site option.
Recommended Read: 19 simple ways to grow your email list
Your Turn to getting started with email logs in WordPress
Using WordPress to conduct your individual or business activities seamlessly can be bliss when you know how to use the email feature properly.
WordPress email plugins can help you to monitor the emails to find out whether they are actually sent to the intended recipients or not. You cannot keep spamming someone with your emails.
Besides, WordPress email log plugins can be installed for free, and once they are installed, they are pretty easy to set up as well.
So, track the progress of your email campaign with WordPress logging and make your website operations run smoothly and efficiently.